Description
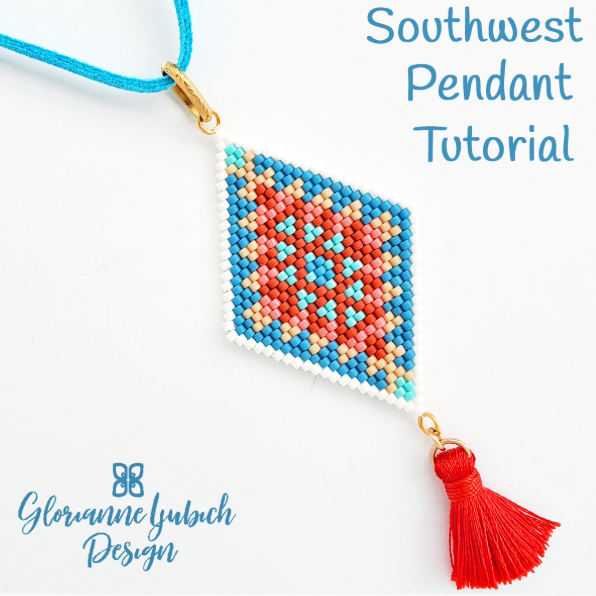
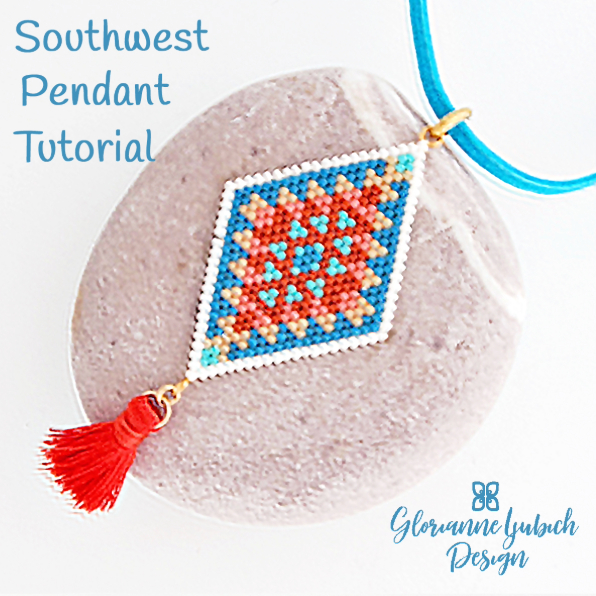
Appear Laid-Back, but Pulled Together with this Southwest Brick Stitch Pendant Tutorial
Cultivate Your Own Casual Vibe in Seven Simple Steps
- First, download the Southwest Brick Stitch Pendant Tutorial at checkout or from your account, and save it on your computer. When you’re ready, print it on one side only in color.
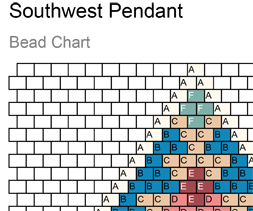
- Next, lay out the Bead Chart and Word Chart and a couple of rulers. Also, grab a pencil to mark your place. Now, arrange your Delicas in alphabetical order to match the Bead Chart. In addition, grab a couple of closed jump rings.
- Now, thread your needle with 8 feet of Fireline and stitch the very top of the pendant. Be sure to attach a jump ring as shown in the Southwest Pendant Beadweaving Tutorial.
- Then, continue to increase rows in the top half of the pendant. Just follow the instructions in the Southwest Diamond Shape Pendant Tutorial.
- After the longest row, follow the Southwest Beaded Brick Stitch Pendant Tutorial and decrease the length of each row.
- Now, finish weaving your delightful Southwest Brick Stitch Pendant Pattern, and add another jump ring in the last row. Then, weave in your tails and trim them. Fabulous! Almost there!
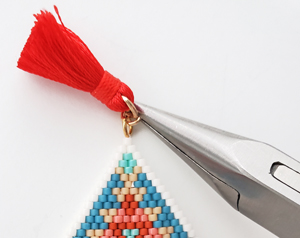
- Finally, attach your tassel, hang your pendant from your cord, and attach your cord ends and clasp. Congratulations! You did it!
Next, explore the Southwest Brick Stitch Pendant Kit here. Also, check out the Southwest Brick Stitch Earrings Kit here and the Southwest Brick Stitch Earrings Tutorial here. Finally, see the Southwest Peyote Stitch Cuff Kit here and the Southwest Peyote Stitch Cuff Tutorial here.



Reviews
There are no reviews yet.