Description
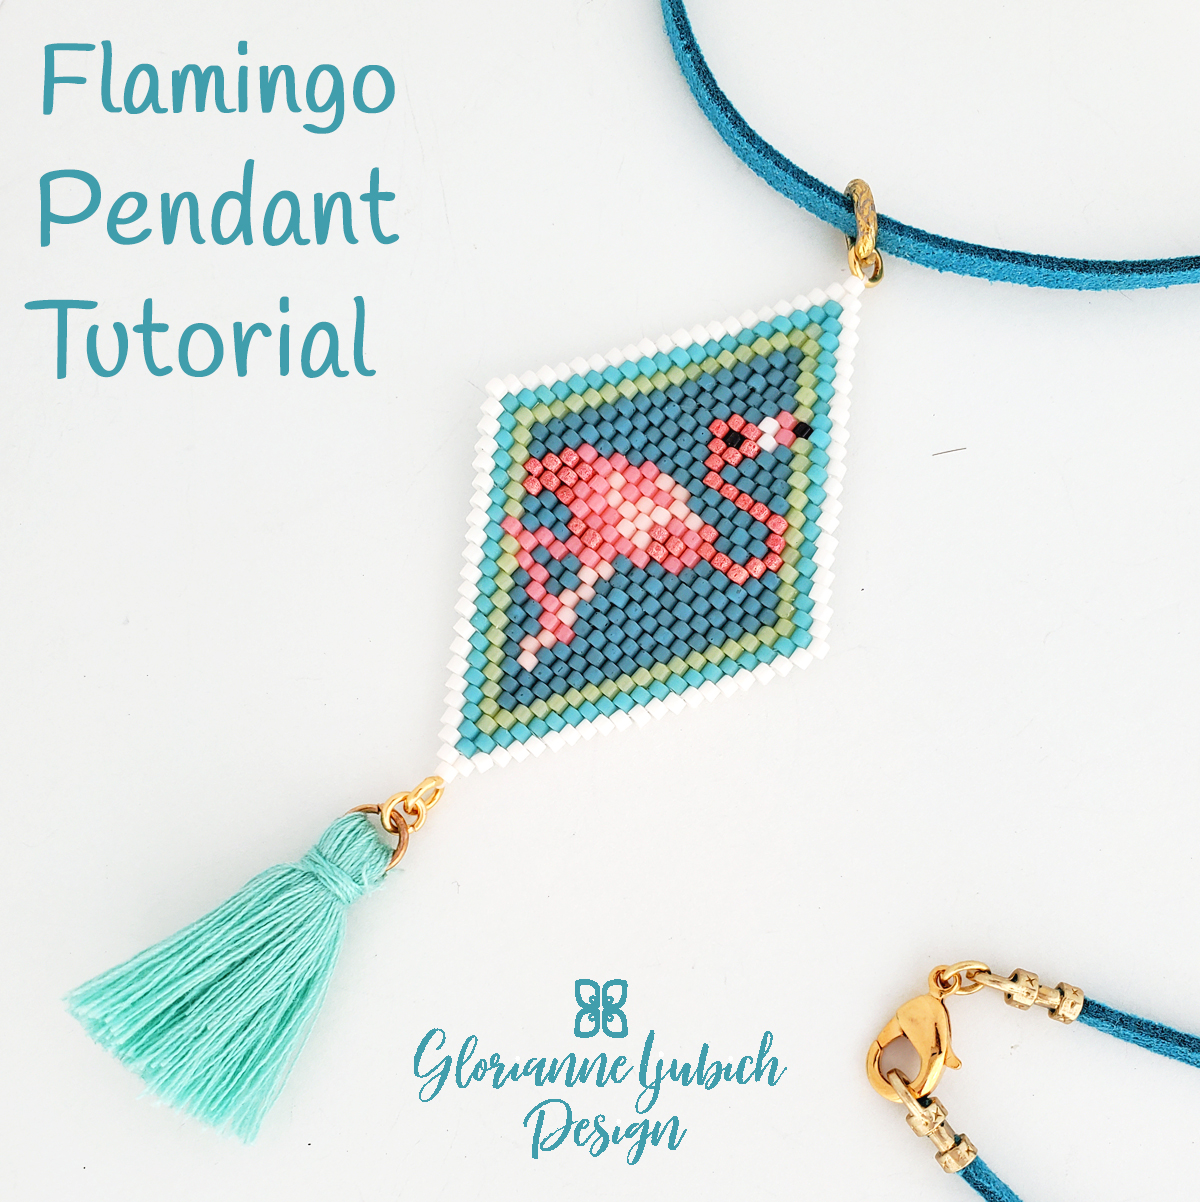
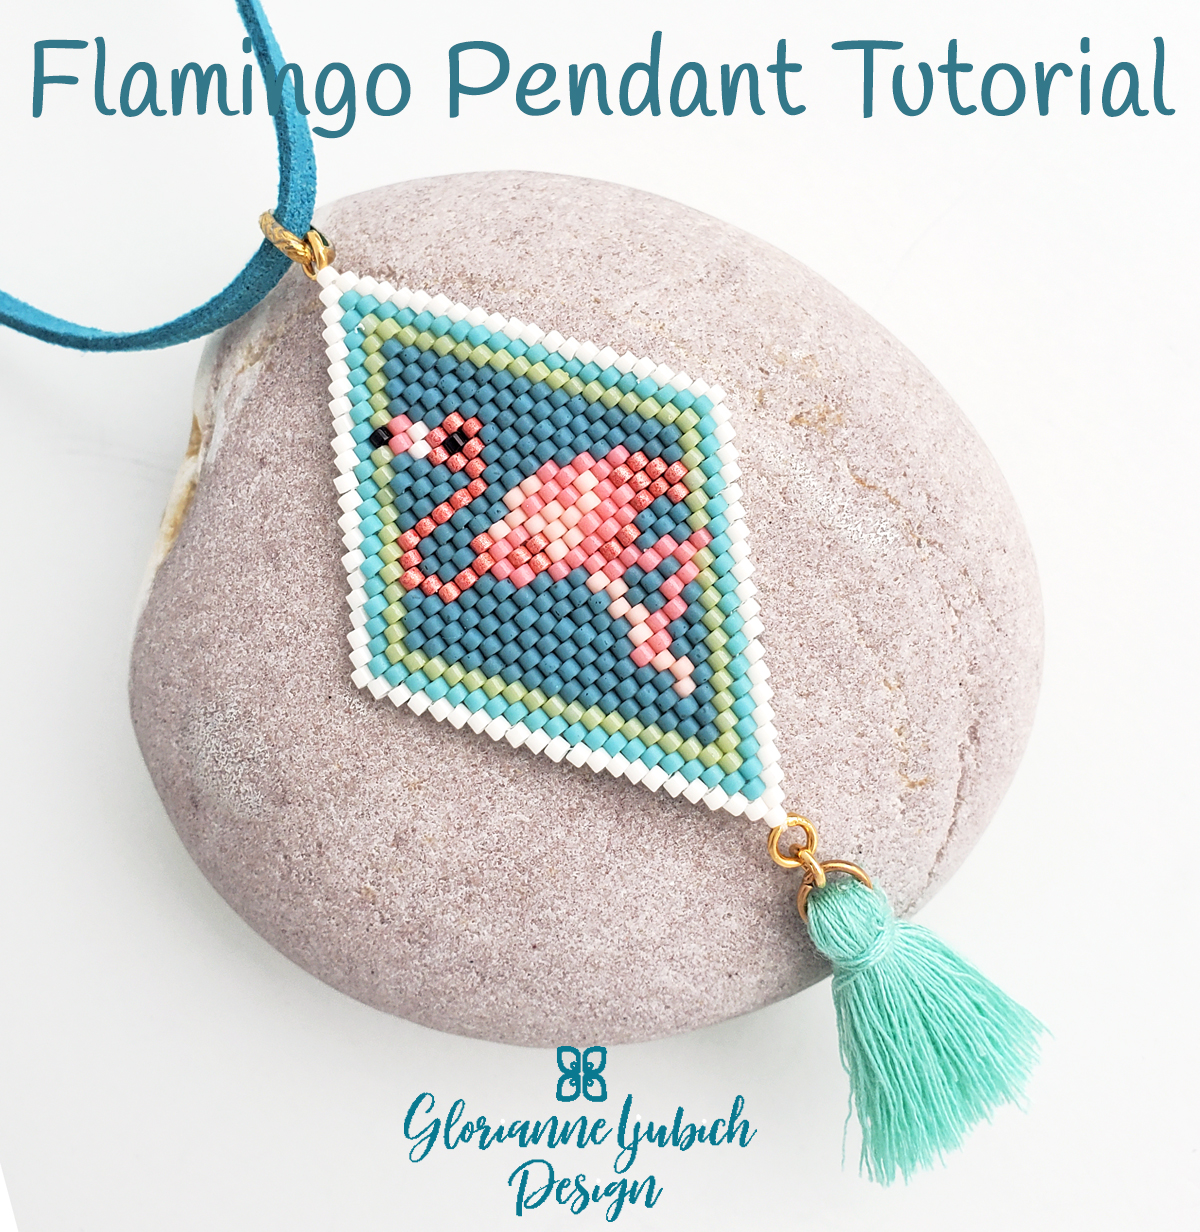
Perk Up Your Outfit with this Fabulous Flamingo Brick Stitch Pendant Tutorial
Get Your Flamingo On in Seven Simple Steps
First, download and save your Flamingo Pendant Brick Stitch Tutorial. Then, print it on one side only in color.
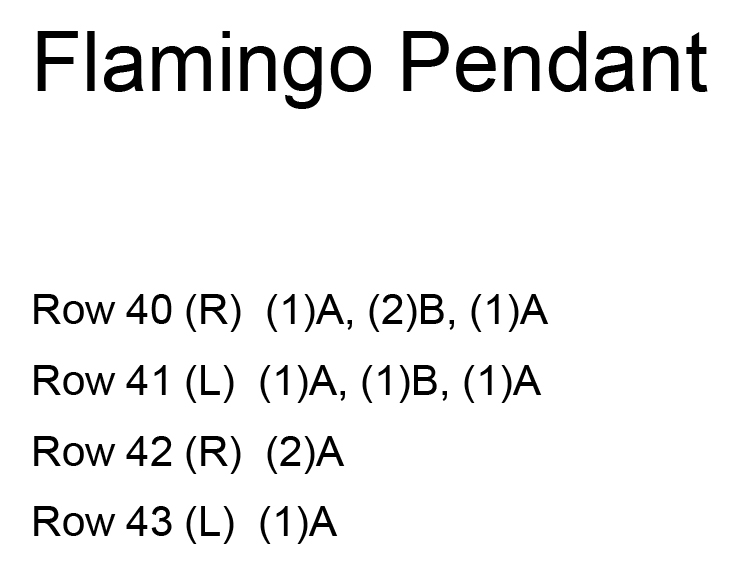
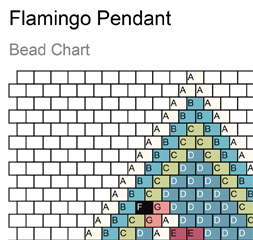
Now, lay out the Bead Chart and the Word Chart, a couple of rulers and a pencil. Next, label and arrange your Delicas in the order that corresponds with the Bead Legend.
At this point, thread your needle with 8 feet of Fireline. Now, stitch a sturdy top with a soldered jump ring as shown in your Flamingo Beaded Pendant Tutorial. Essentially, increase the length of rows on top and decrease on the bottom.
Meanwhile, continue to follow the Bead Chart and the Word Chart until you reach the bottom. At this point, follow the Flamingo Brick Stitch Pendant Instructions to add another jump ring. Then, attach your tassel.
Finally, put it all together with guidance on all of it in the Flamingo Diamond Shape Pendant Tutorial.
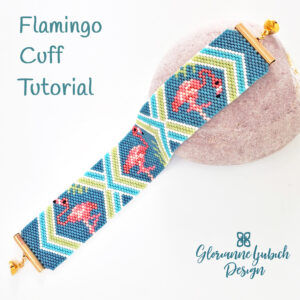
Now, check out the Flamingo Brick Stitch Pendant Kit here. Next, learn about the Flamingo Brick Stitch Earrings Kit here and the Flamingo Brick Stitch Earrings Tutorial here. Finally, read about the Flamingo Peyote Beadweaving Cuff Kit here, and the Flamingo Peyote Stitch Cuff Tutorial here.





Reviews
There are no reviews yet.