Description
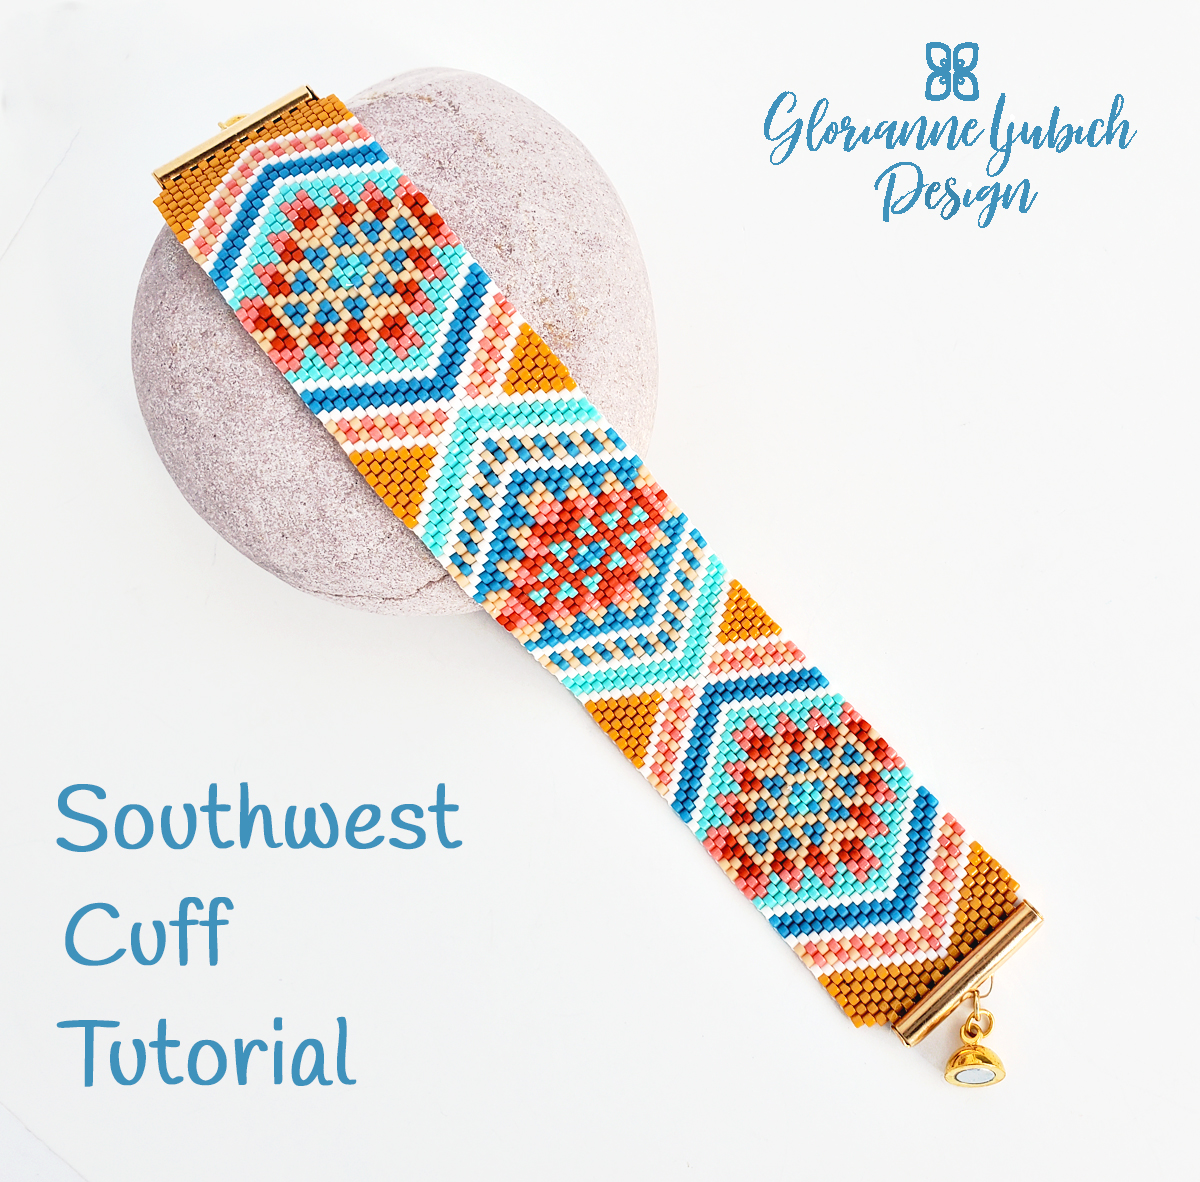
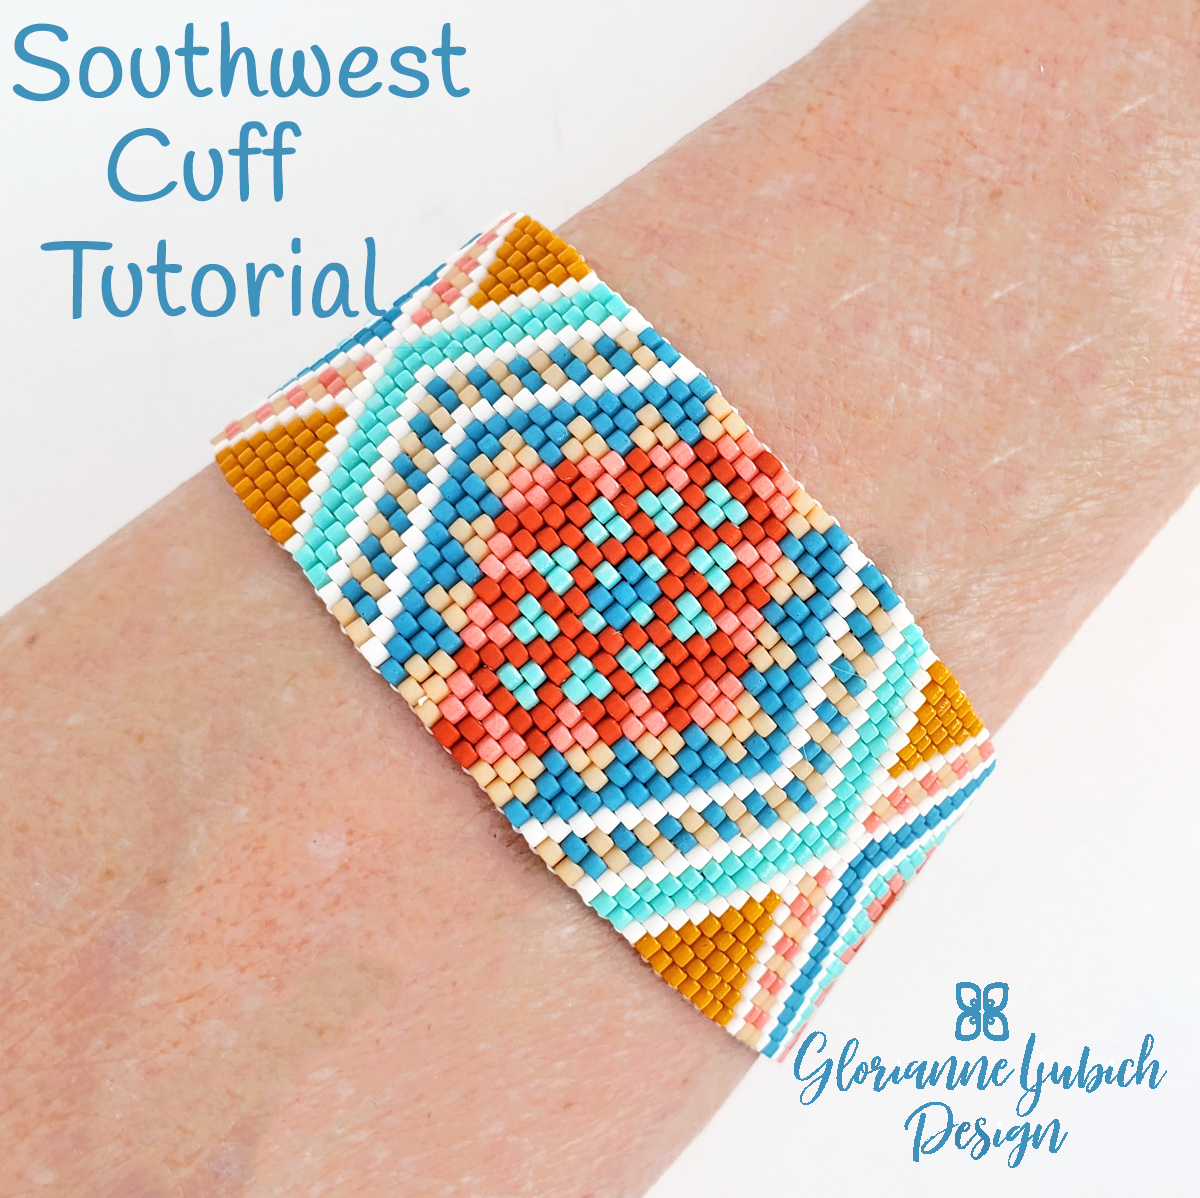
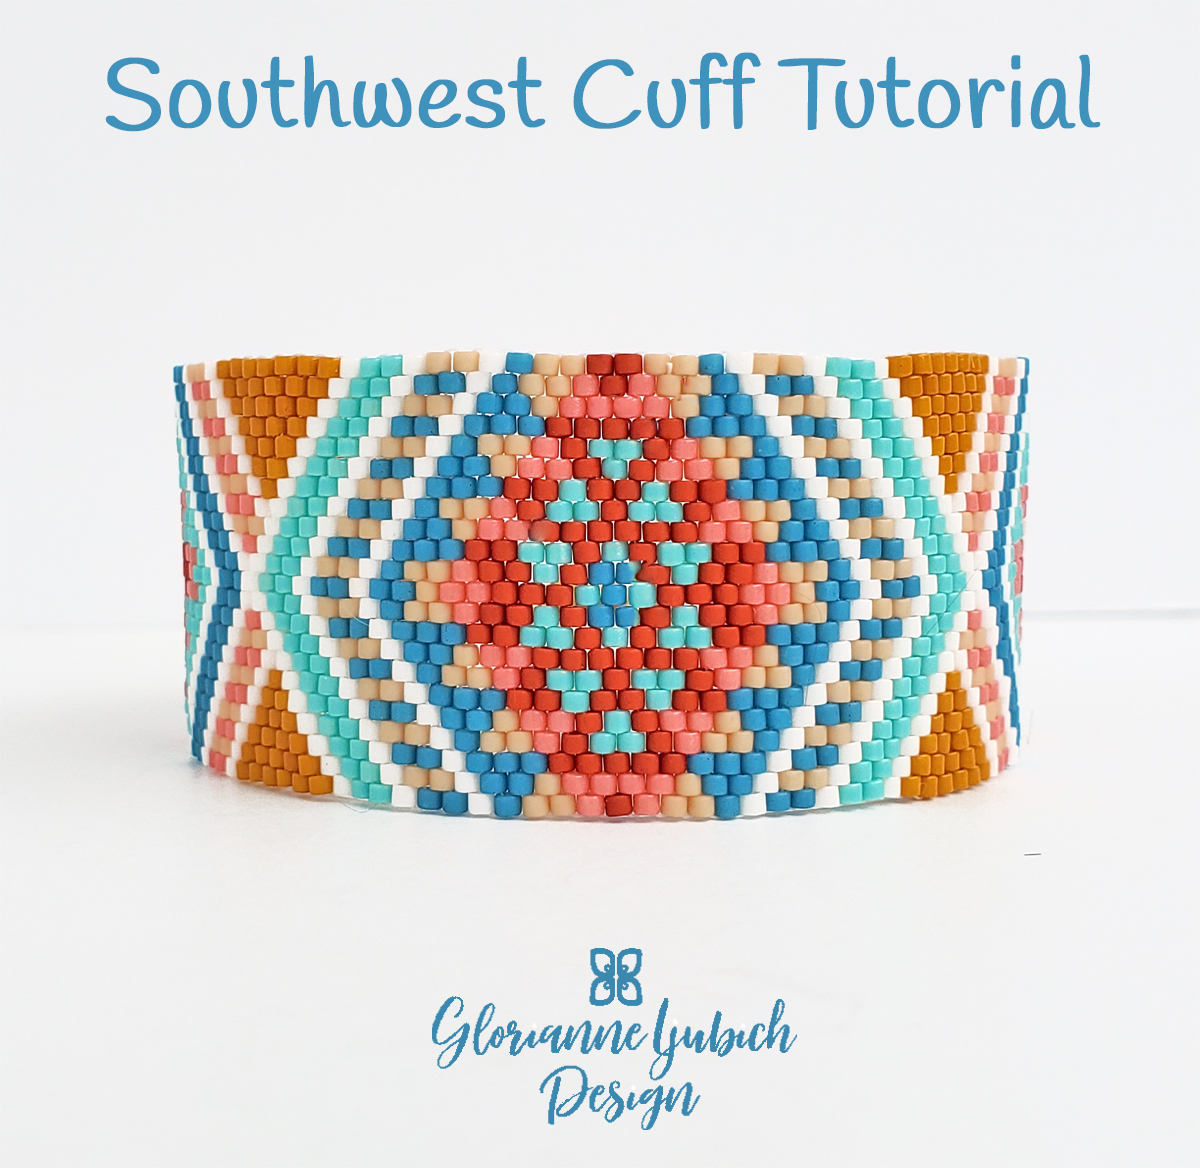
Beautify Your Wrist with this Southwest Peyote Stitch Cuff Tutorial
Weave This Native-Inspired Design in Seven Simple Steps
- First, download your PDF Southwest Peyote Stitch Cuff Tutorial and save it to your computer. Next, print it on one side only, in color.
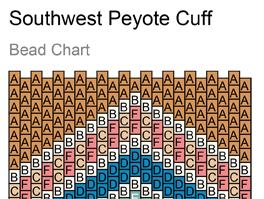
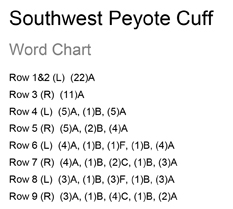
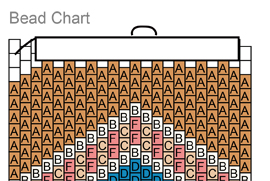
- Second, lay out the Bead Chart and the Word Chart, and a couple of rulers. Also, grab a pencil to mark your place. Now, arrange your Delicas in alphabetical order on your beading surface to match the pattern.
- At this point, thread you needle with a comfortable length of thread. Then, stitch the first 3 rows all in one color. So easy!
- With a solid foundation, follow the Southwest Peyote Cuff Tutorial and stitch your even count peyote cuff pattern.
- Before too long, measure your wrist and determine your ideal bracelet length. The Southwest Beaded Cuff as shown measures 7.5″. Of that overall length, the slide-on bar ends, jump rings and clasp measure 1-inch. So, add or subtract rows as necessary.
- When you reach your desired length, follow the illustrations in the Southwest Cuff Beadweaving Tutorial to finish your cuff.
- Finally, add the bar ends and attach the clasp. Awesome! Good job!
Meanwhile, check out the Southwest Peyote Stitch Cuff Kit here. Next, see the Southwest Earrings Beading Kit here, and the Southwest Beaded Earrings Tutorial here. Finally, find the Southwest Brick Stitch Pendant Kit here, and the Southwest Brick Stitch Pendant Tutorial here.




Reviews
There are no reviews yet.